
real for a second—have you ever applied foundation and thought, “Why does this look cakey?” Yeah, same. That’s exactly where the beauty blender comes in. This little sponge has completely changed the makeup game, and once you learn how to use it properly, there’s no going back.
I remember when I first tried a beauty blender. I used it dry (big mistake), and the results were… not great. But once I learned the right techniques, it gave me that smooth, airbrushed finish I always wanted. So today, let’s chat like friends and break down everything you need to know about using a beauty blender the right way. 😊
What is a Beauty Blender?
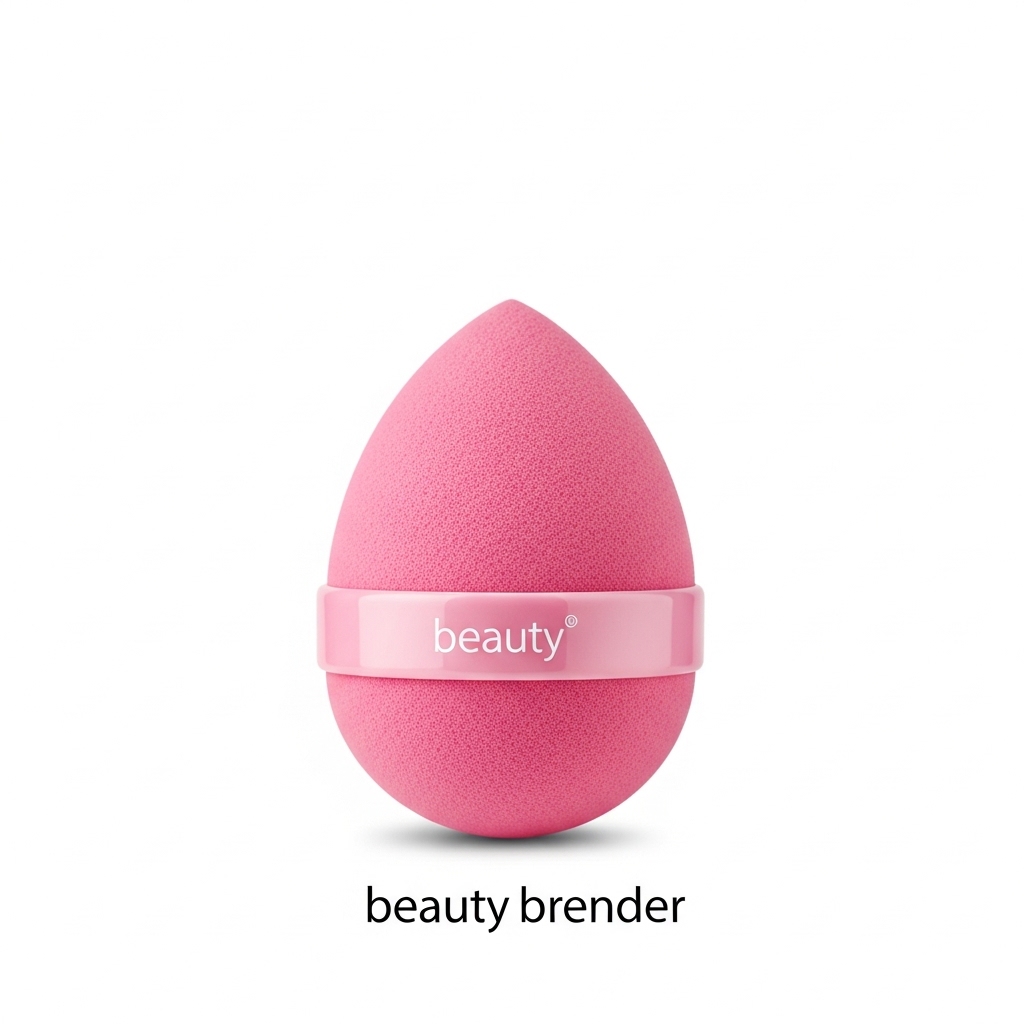
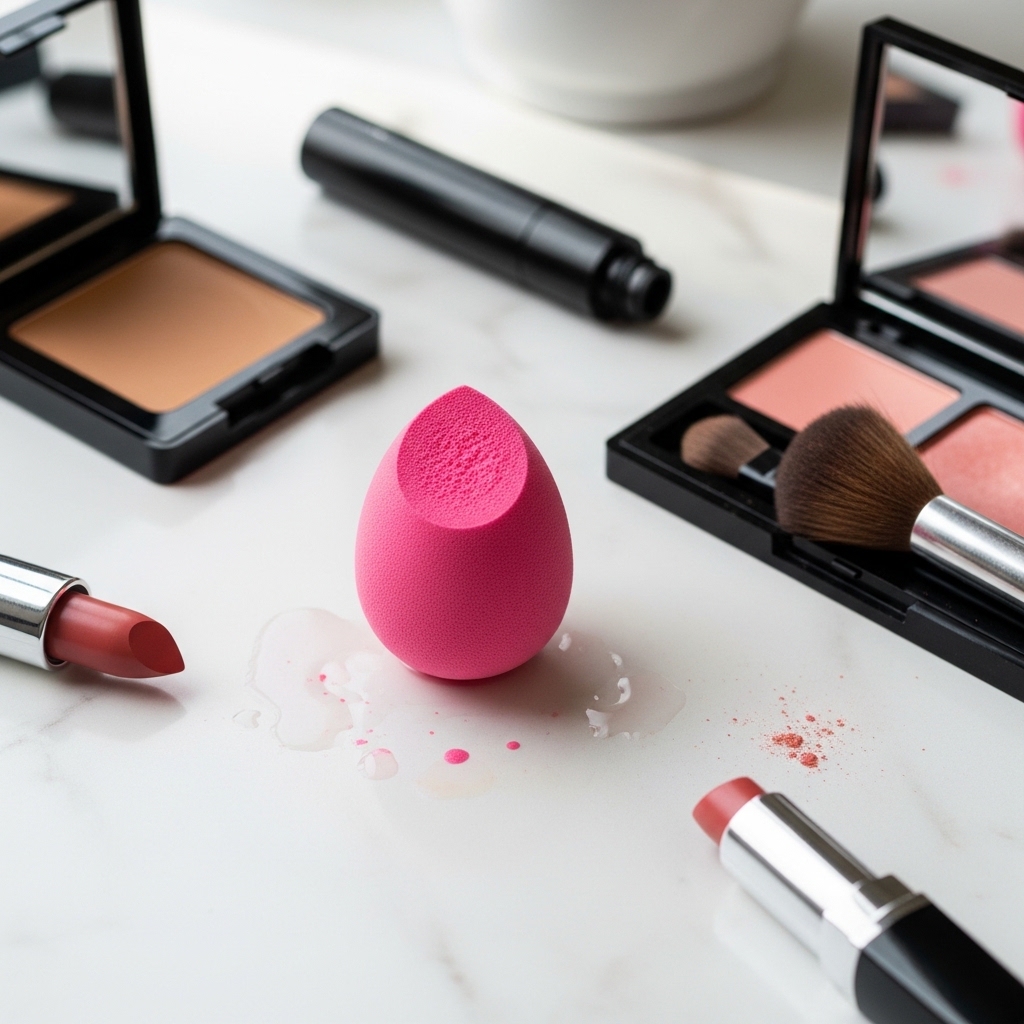
A beauty blender is a soft, sponge-like makeup tool designed to apply and blend products seamlessly. Its unique shape helps you reach every corner of your face.
Key Features
- Egg-shaped design for precise application
- Soft, bouncy texture for smooth blending
- Works with liquid, cream, and even powder products
Sounds simple, right? But trust me, it’s all about how you use it.
Why a Beauty Blender is a Game-Changer
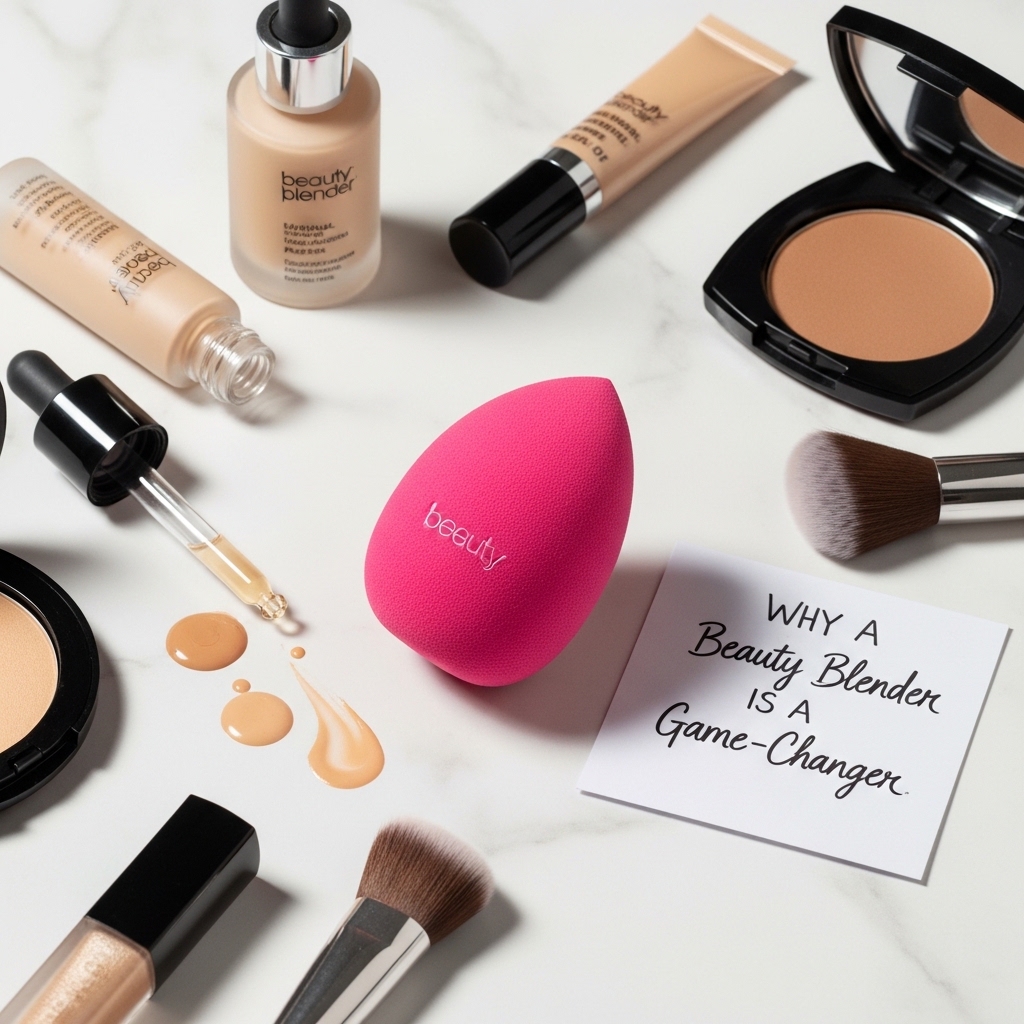
Flawless Finish Every Time
Unlike brushes, a beauty blender gives a natural, skin-like finish.
- No harsh lines
- Even product distribution
- Smooth blending
Multi-Purpose Tool
You can use it for more than just foundation.
- Concealer
- Blush
- Contour
- Setting powder
FYI, one tool can replace multiple brushes if used correctly.
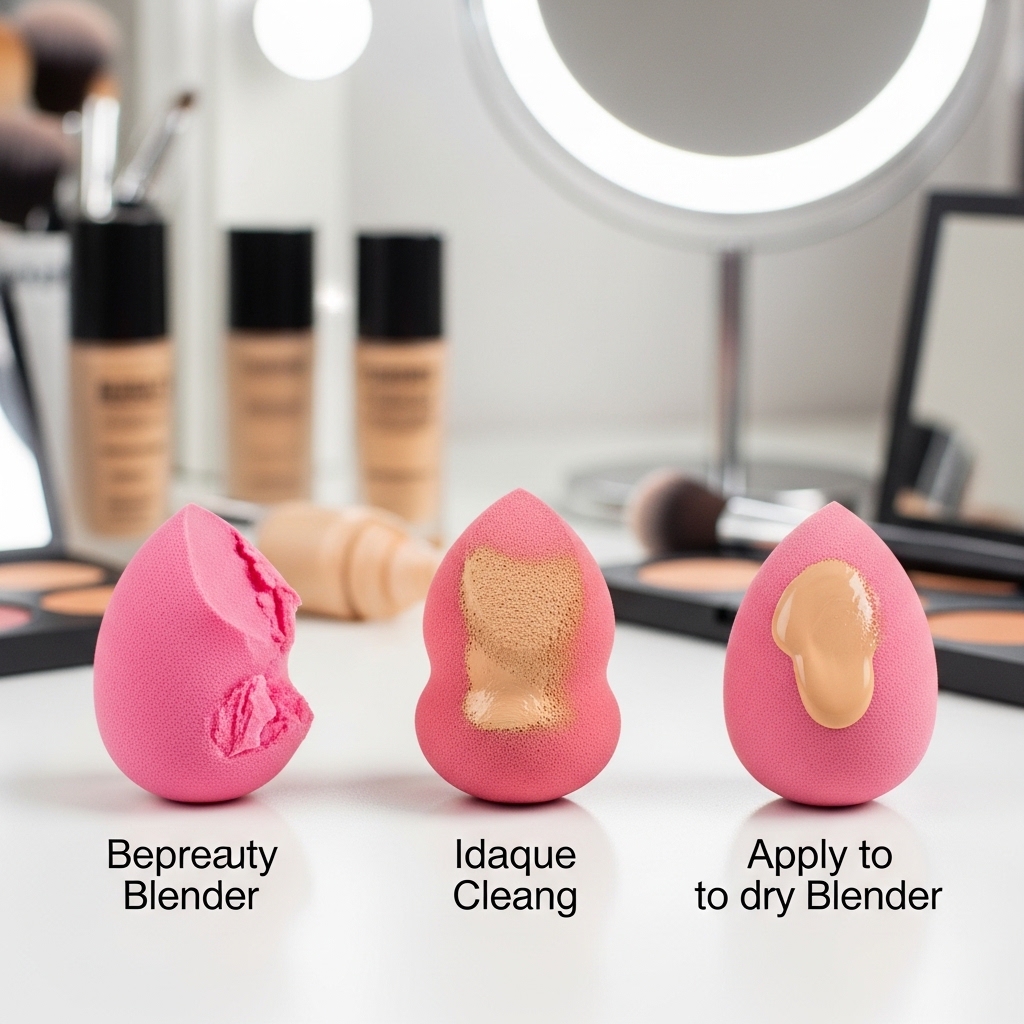
How to Use a Beauty Blender Properly
Step-by-Step Guide
- Wet the sponge
- Run it under water until fully soaked
- Squeeze out excess water
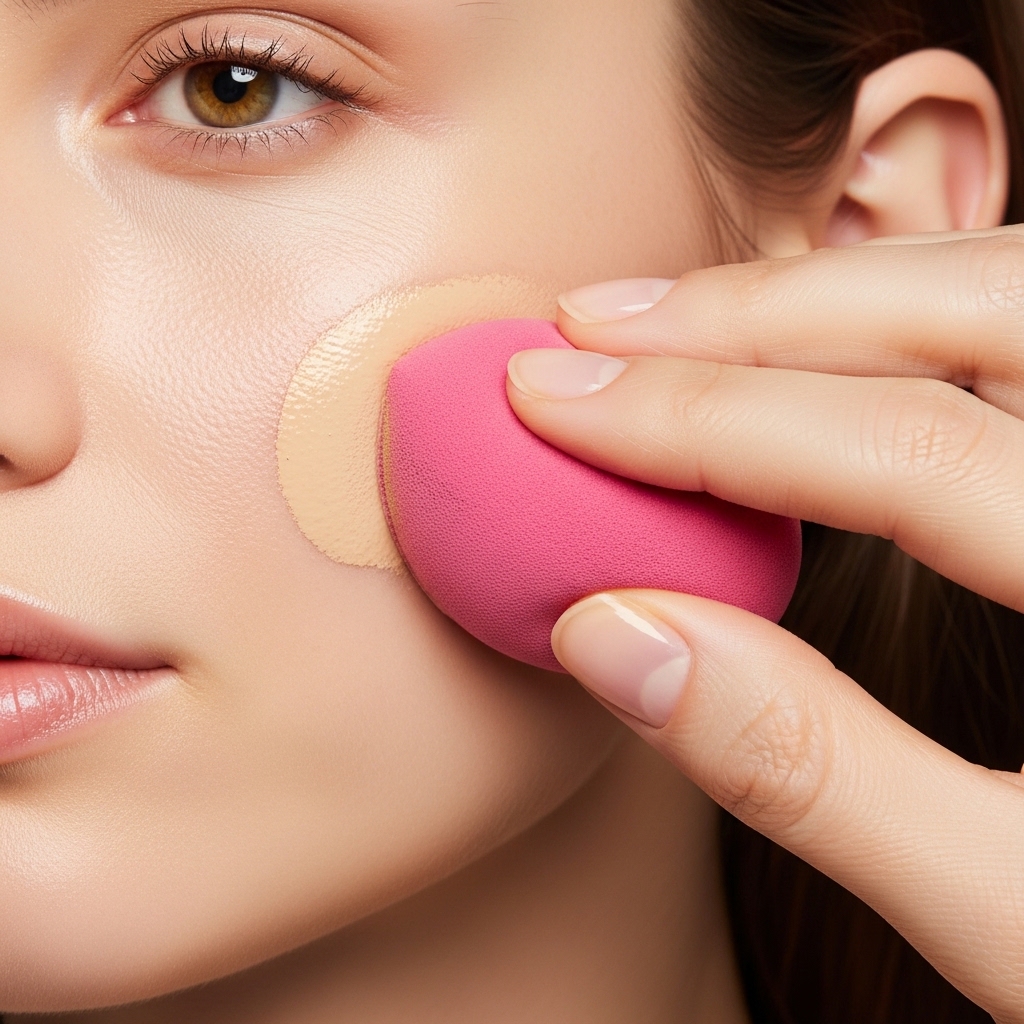
- Bounce, don’t drag
- Use a dabbing motion
- Avoid rubbing or swiping
- Apply product gradually
- Build coverage slowly
- Focus on blending, not spreading
Ever noticed how pros tap instead of swipe? That’s the secret.
Dry vs Wet Beauty Blender
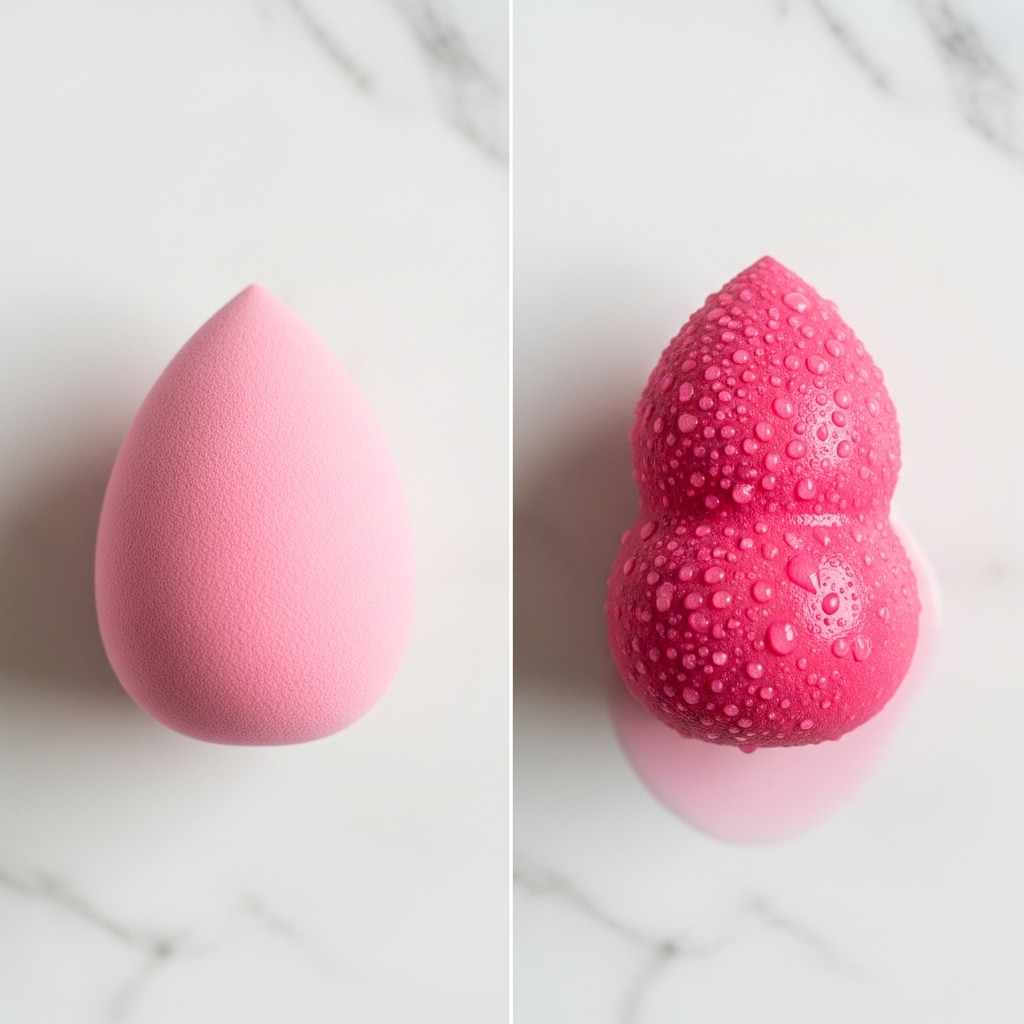
Why Wet is Better
Using a damp sponge makes a huge difference.
- Prevents product absorption
- Gives a dewy, natural finish
- Blends products more easily
When to Use It Dry
Sometimes, a dry blender can be useful.
- Applying powder products
- Creating fuller coverage
IMO, wet is almost always the better choice.
Different Ways to Use a Beauty Blender
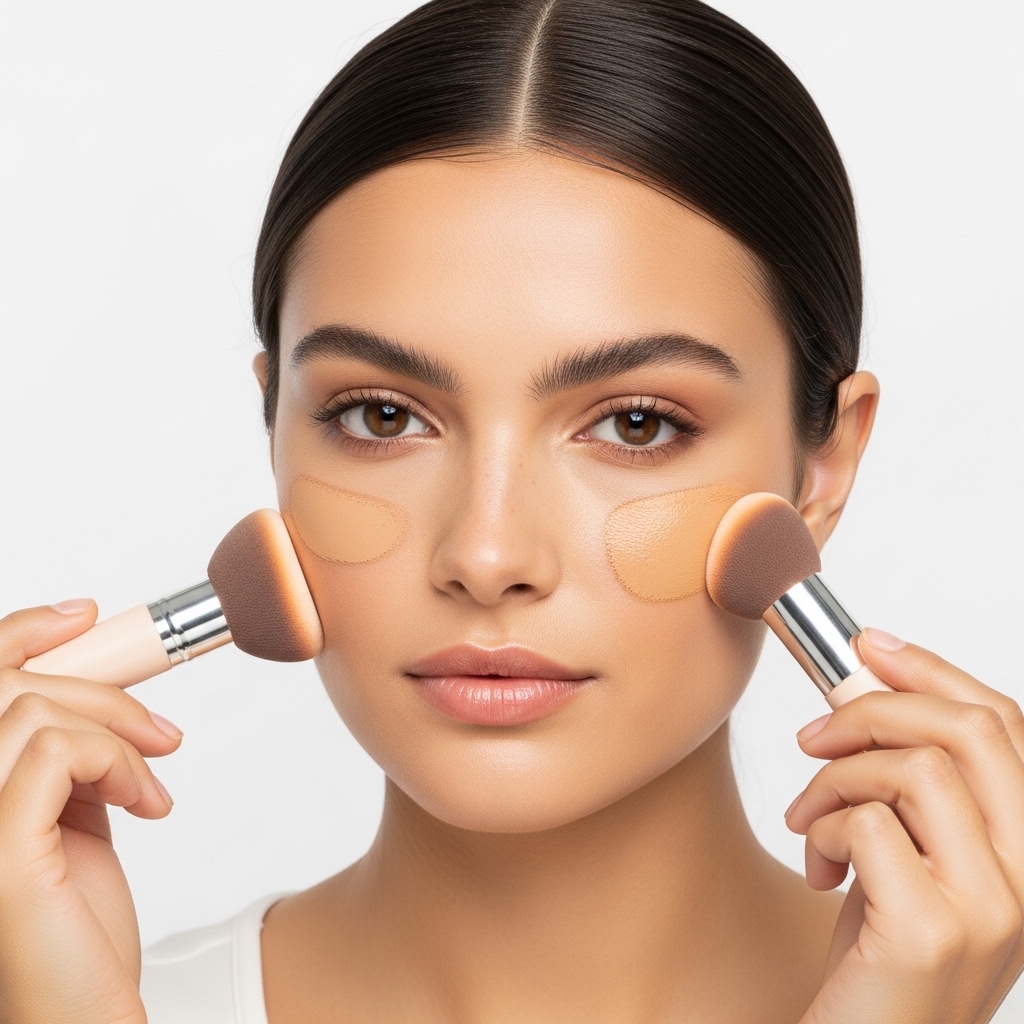
Foundation Application
This is the most common use.
- Apply foundation to your face
- Blend with a damp sponge
- Build coverage where needed
Concealer Blending
Use the pointed tip for precision.
- Blend under eyes
- Cover blemishes
- Brighten specific areas
Contouring and Highlighting
The rounded base works perfectly.
- Blend cream contour
- Apply highlighter
- Soften harsh lines
Cleaning Your Beauty Blender
Let’s talk hygiene—because this is important.
Why Cleaning Matters
A dirty sponge can cause:
- Breakouts
- Bacteria buildup
- Poor makeup application
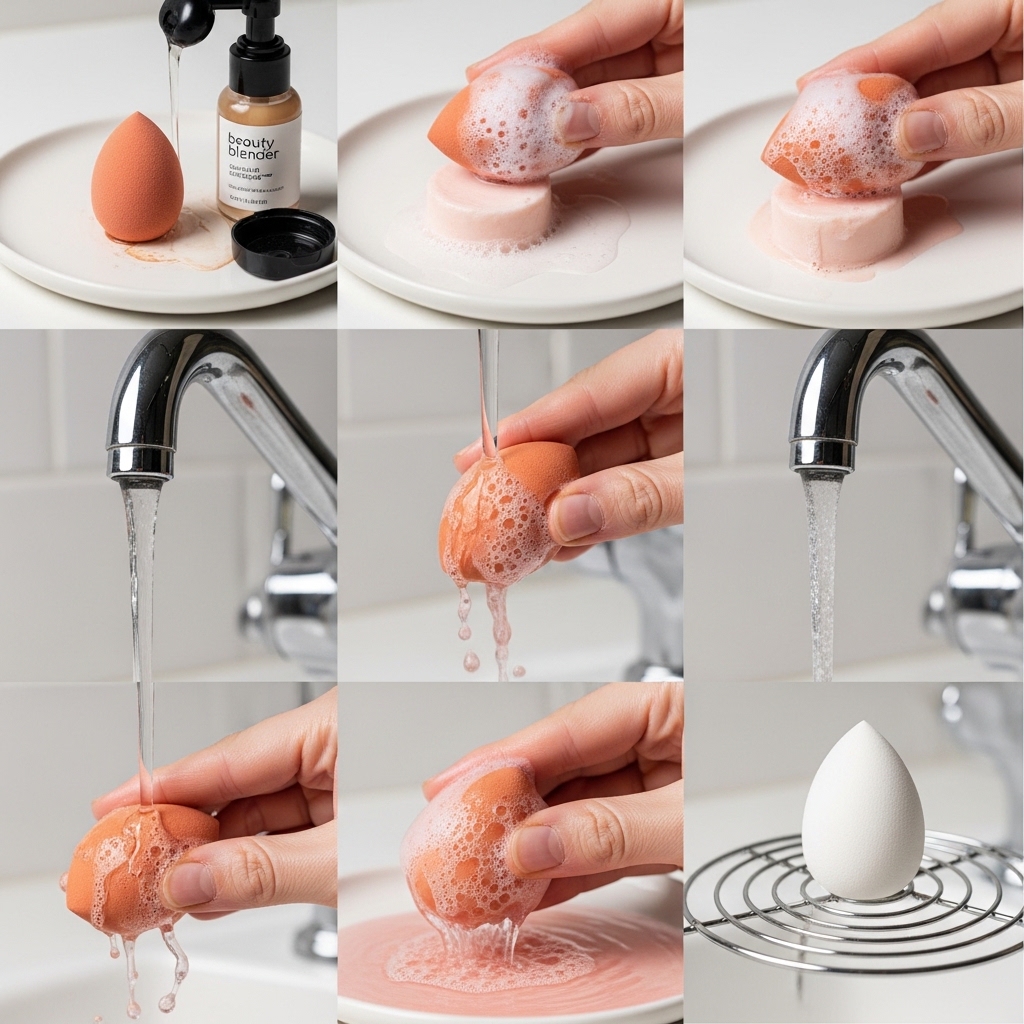
How to Clean It
- Use a gentle soap or cleanser
- Rub gently until clean
- Rinse thoroughly
- Let it air dry
Clean it at least once a week. Your skin will thank you.
Common Beauty Blender Mistakes
Even though it’s simple, people still mess it up.
- Using it dry all the time
- Applying too much product
- Not cleaning regularly
- Dragging instead of bouncing
Ever wondered why your makeup looks patchy? It might be one of these mistakes.
Choosing the Right Beauty Blender
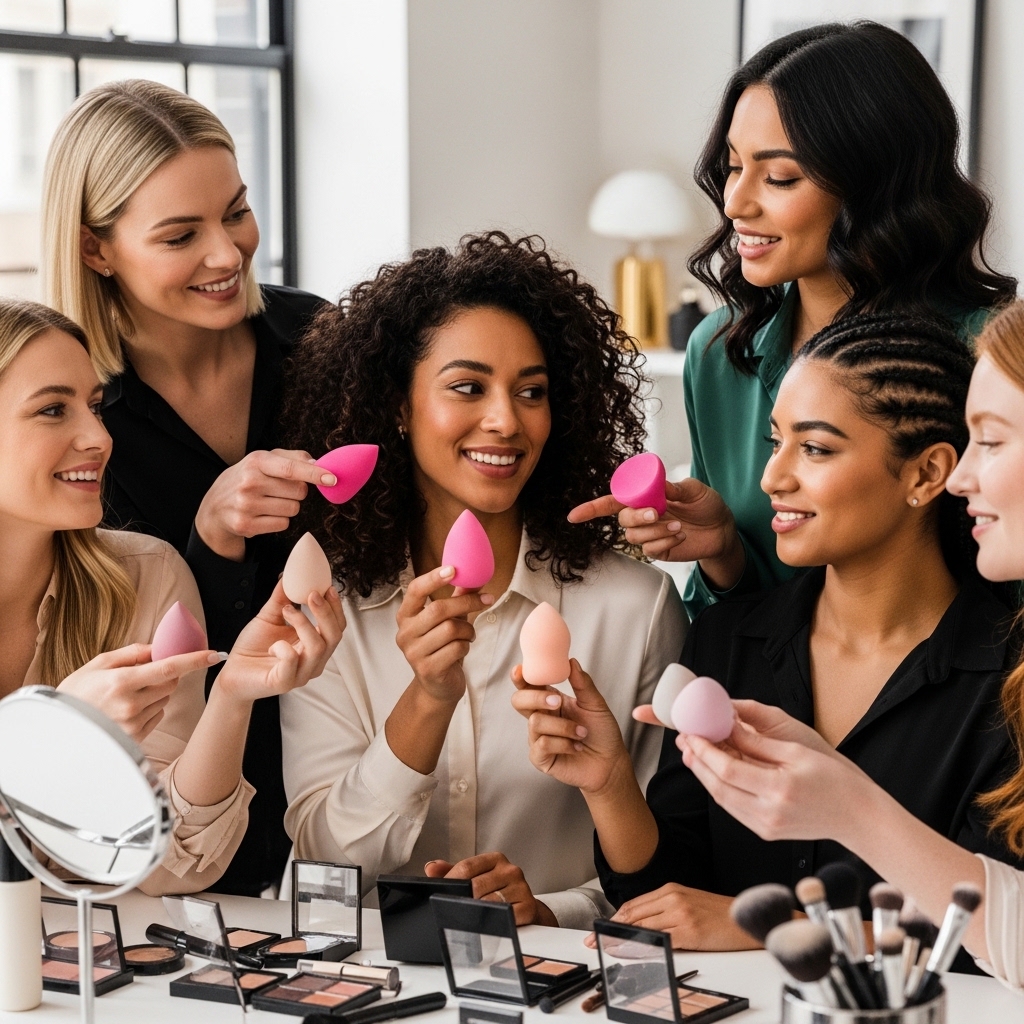
Original vs Dupes
There are many options out there.
- Original beauty blenders are high quality
- Dupes are more affordable
- Some work just as well
What to Look For
- Soft texture
- Good bounce
- Durable material
Don’t just go for the cheapest option—it matters more than you think.
Beauty Blender vs Makeup Brushes
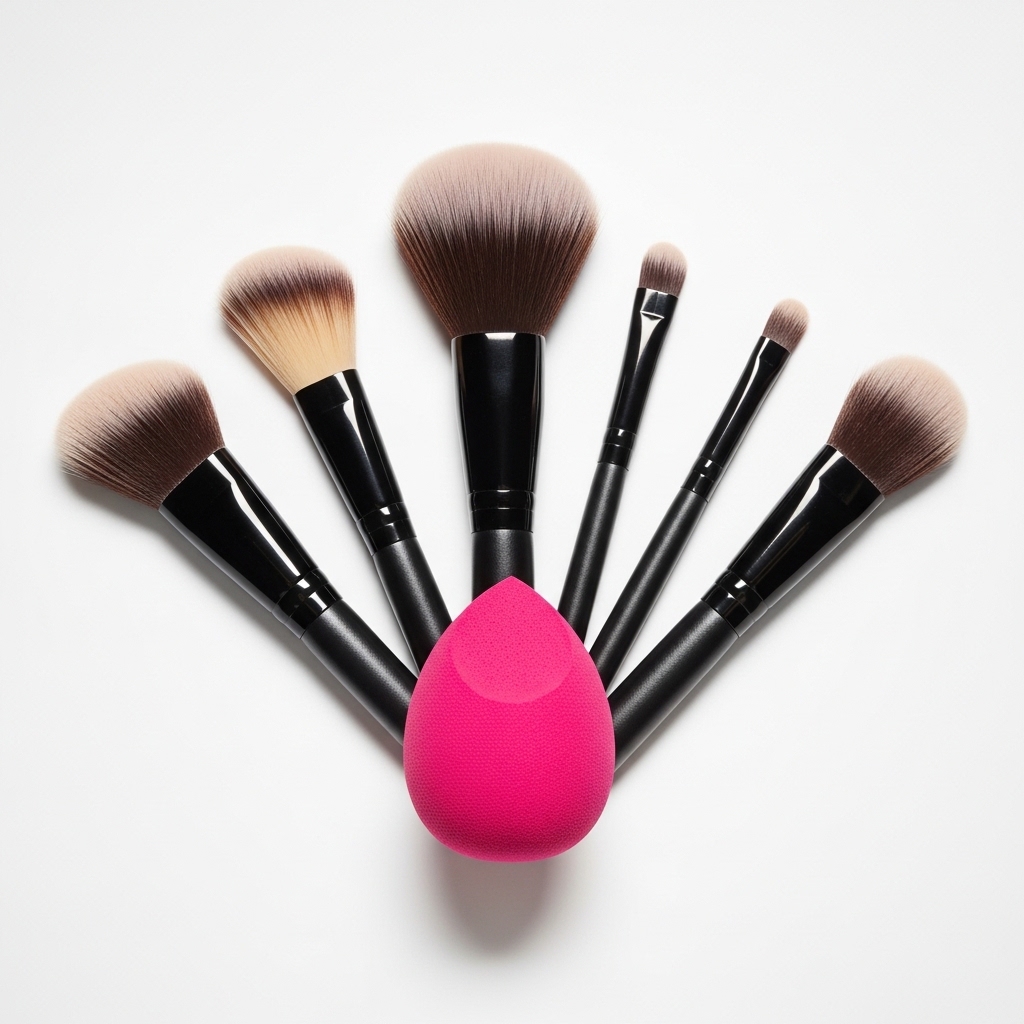
Key Differences
Beauty Blender:
- Natural finish
- Easy blending
- Works best with liquids
Makeup Brushes:
- More coverage
- Faster application
- Better for powders
Which One is Better?
Honestly, it depends on your preference.
- Want a natural look? Go for a blender
- Want full coverage? Try a brush
Why not use both for the best results?
Pro Tips for Best Results
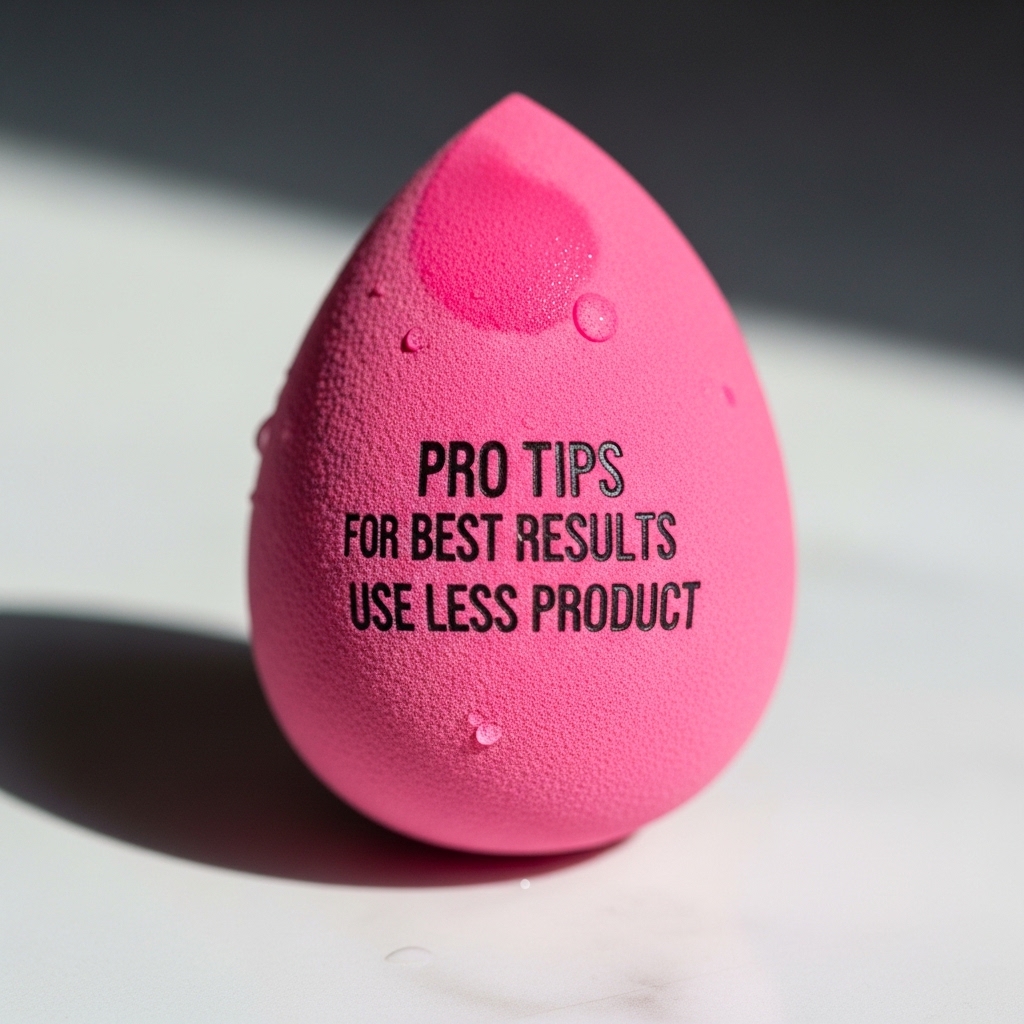
Use Less Product
The sponge spreads product evenly.
- Start small
- Build gradually
- Avoid cakey makeup
Keep It Damp
Always check moisture level.
- Too dry = patchy finish
- Too wet = diluted product
Use Different Sides
Take advantage of the shape.
- Pointed tip for details
- Rounded base for blending
My Personal Experience
I’ll be honest—I didn’t understand the hype at first. But once I learned how to use a beauty blender properly, it became my go-to tool. My makeup looked smoother, more natural, and way less heavy.
The biggest lesson? Technique matters more than the tool itself. Even the best blender won’t help if you don’t use it correctly.
Final Thoughts
So, is a beauty blender worth it? Absolutely. It’s simple, effective, and can completely transform your makeup routine.
Remember the basics: keep it damp, use a bouncing motion, and clean it regularly. Stick to these, and you’ll get that flawless finish every time.